Orb of Notions
How to · What to do · Best practices

From a photo to a notion —
and onto a real product.

A short, friendly guide to using Orb of Notions. Take a photo, make it yours, share it with the community — and, if you like, hold it in your hands.

↓ scroll ↓
The basics

Five steps, start to finish
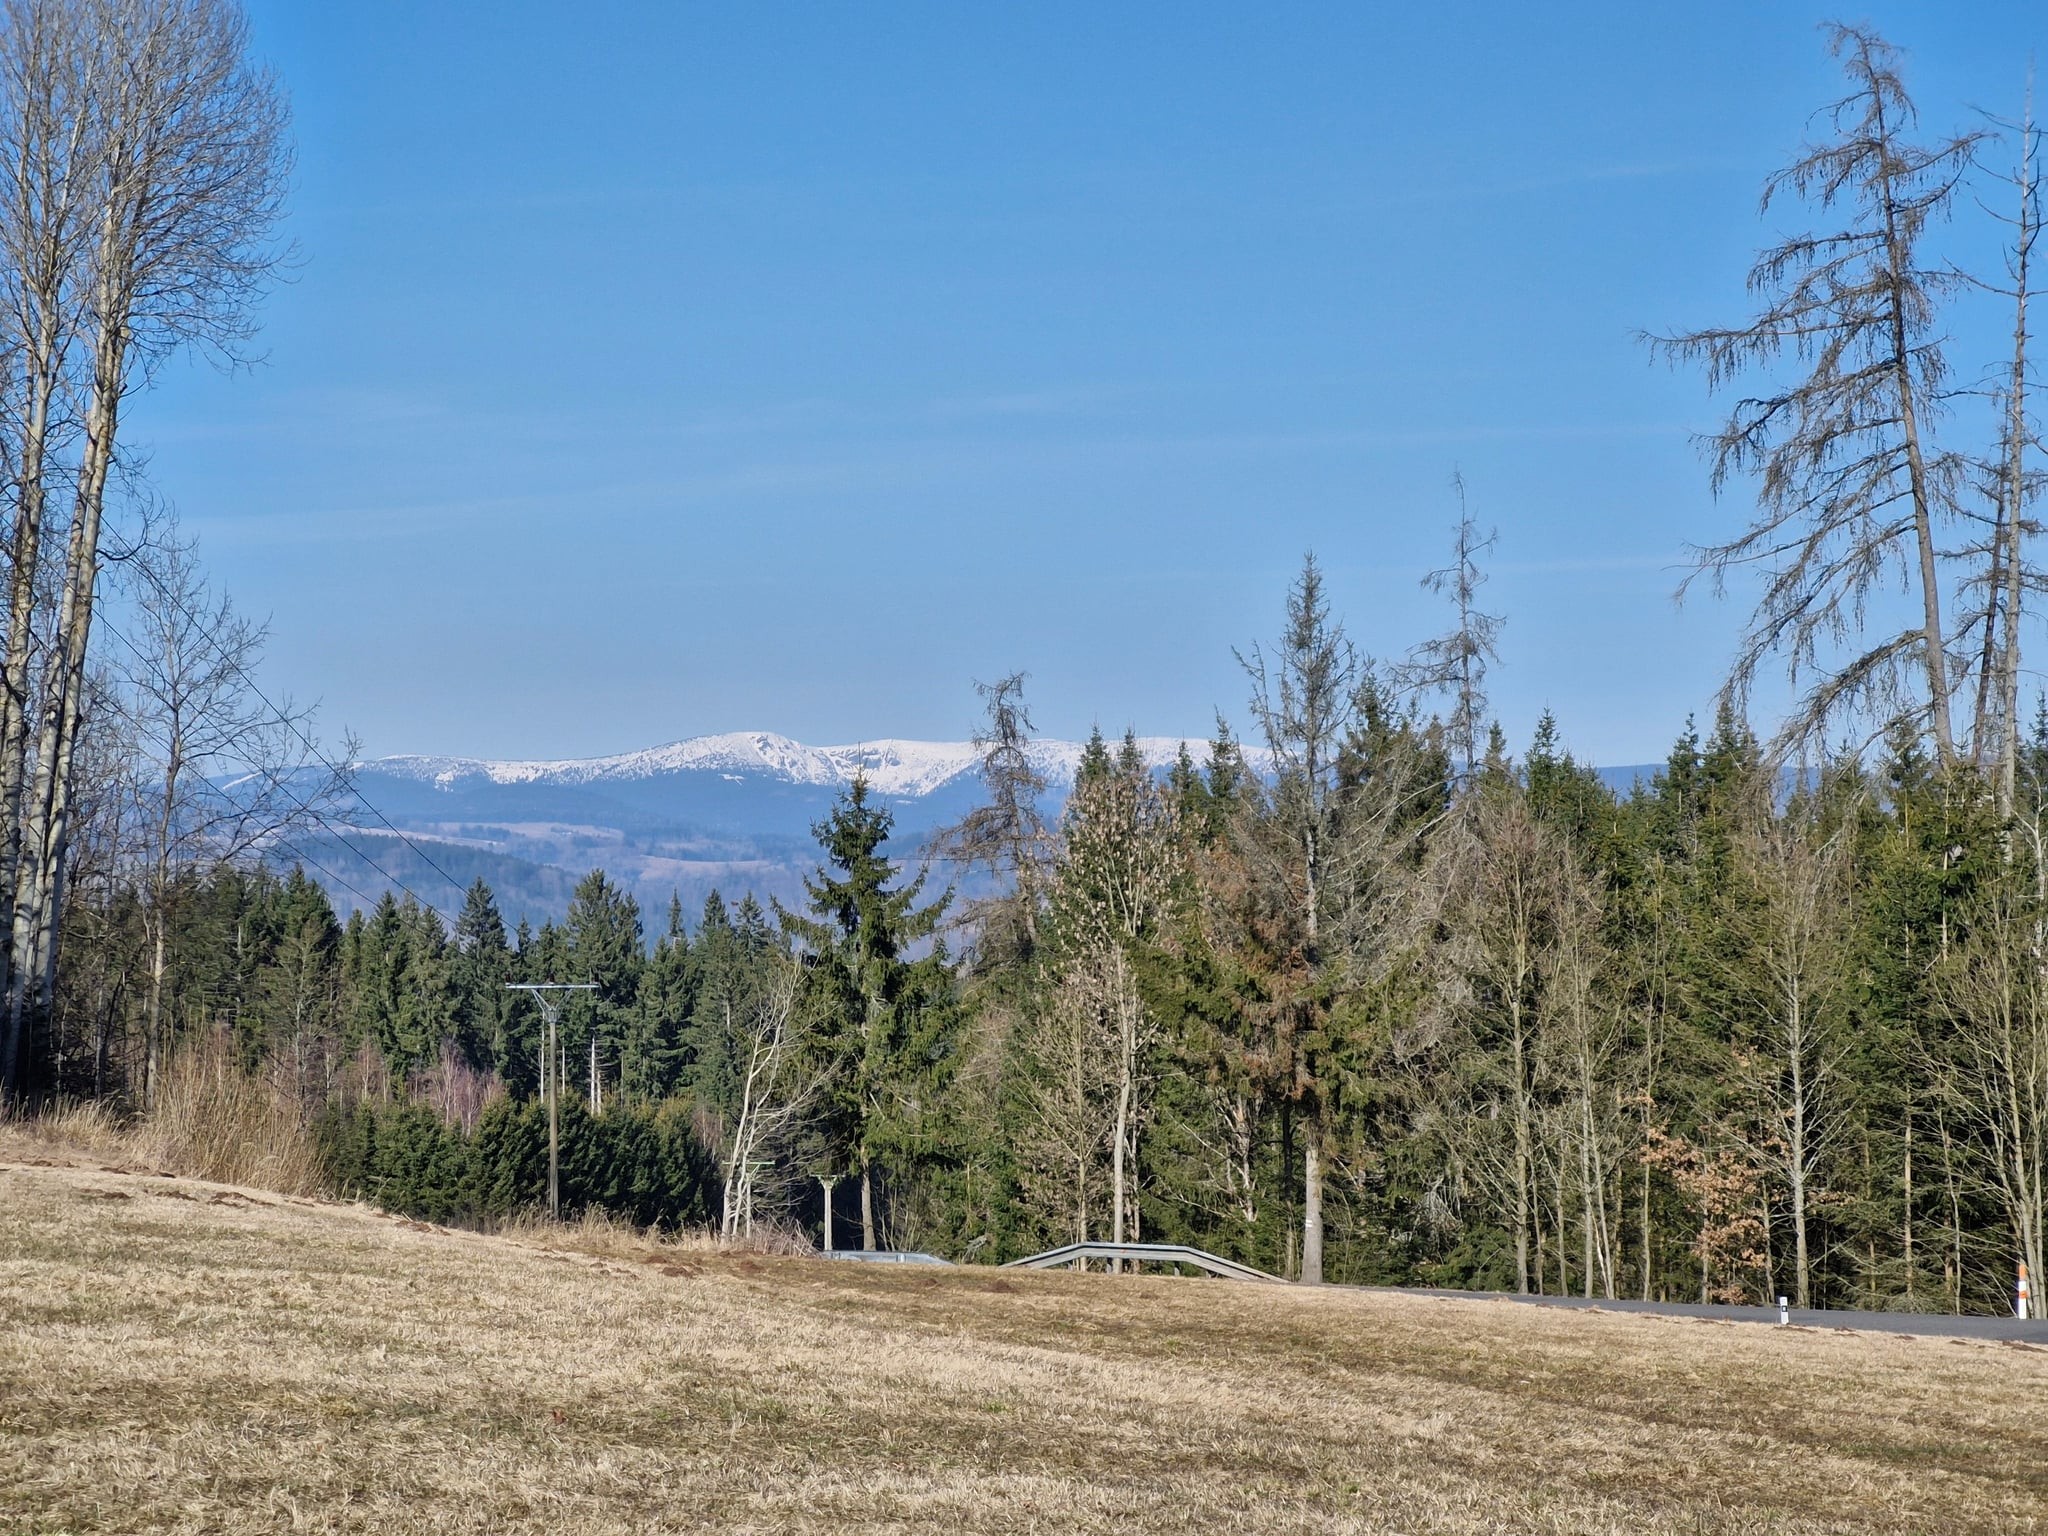
01

Upload a photo

Start in Fotos. Drag in an image or pick one from your device. This is the raw material — anything that means something to you works.
02

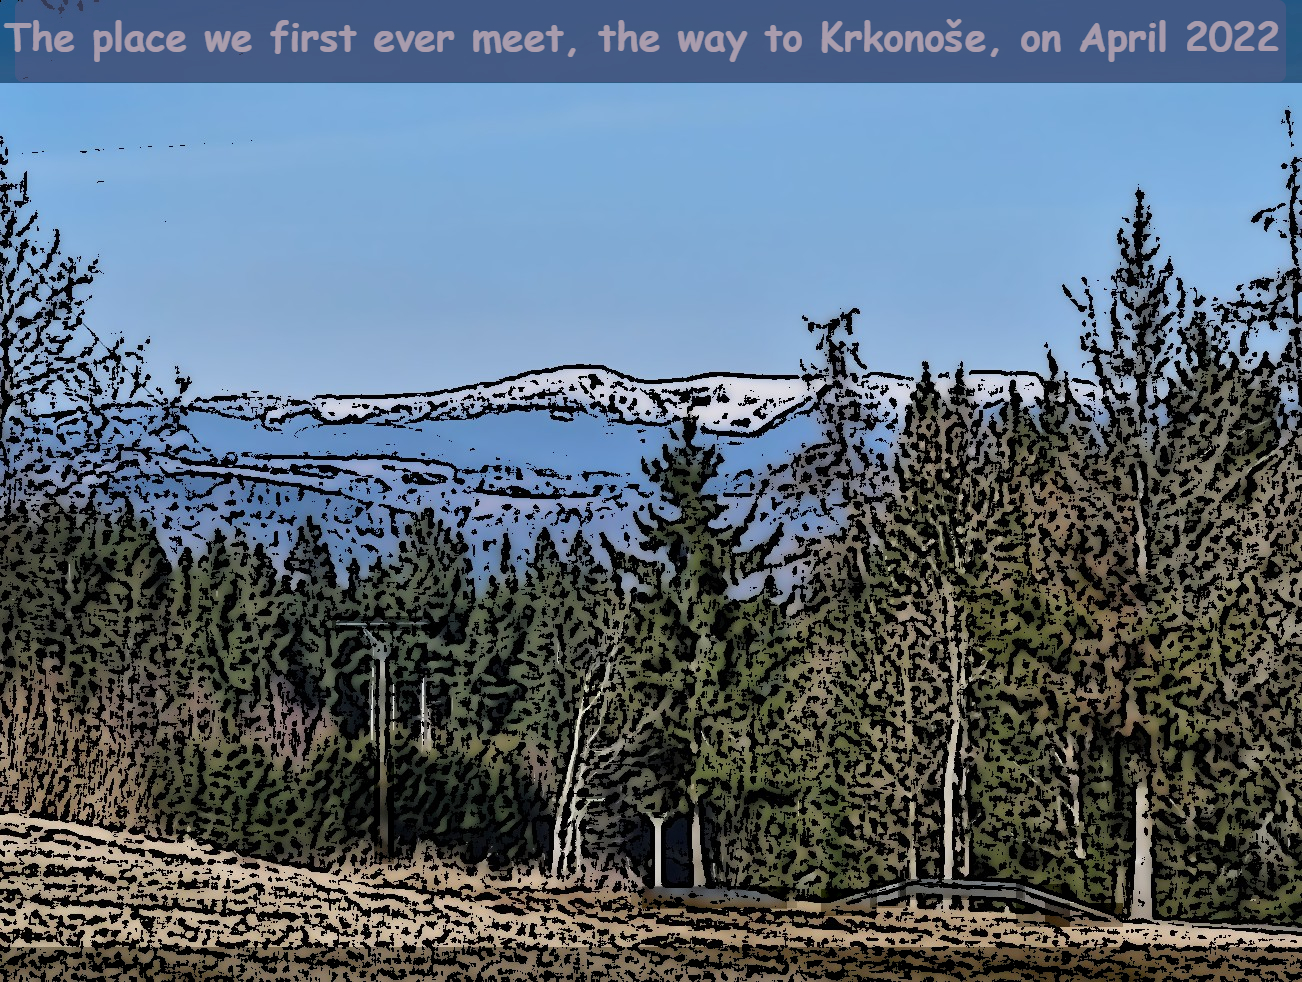
Edit & make it yours

Open the image editor to crop, apply filters, and adjust your photo until it feels right. Small changes go a long way — this is the version people will see.
03

Write a note around it

Wrap your image in words. A note gives the photo context — a thought, a story, a question. This is where a picture becomes an idea.
04

Share it as a notion

When a note feels worth sharing, turn it into a Notion and throw it into the weekly round on the Orb. The community votes on what moves them, transparently on-chain.
05

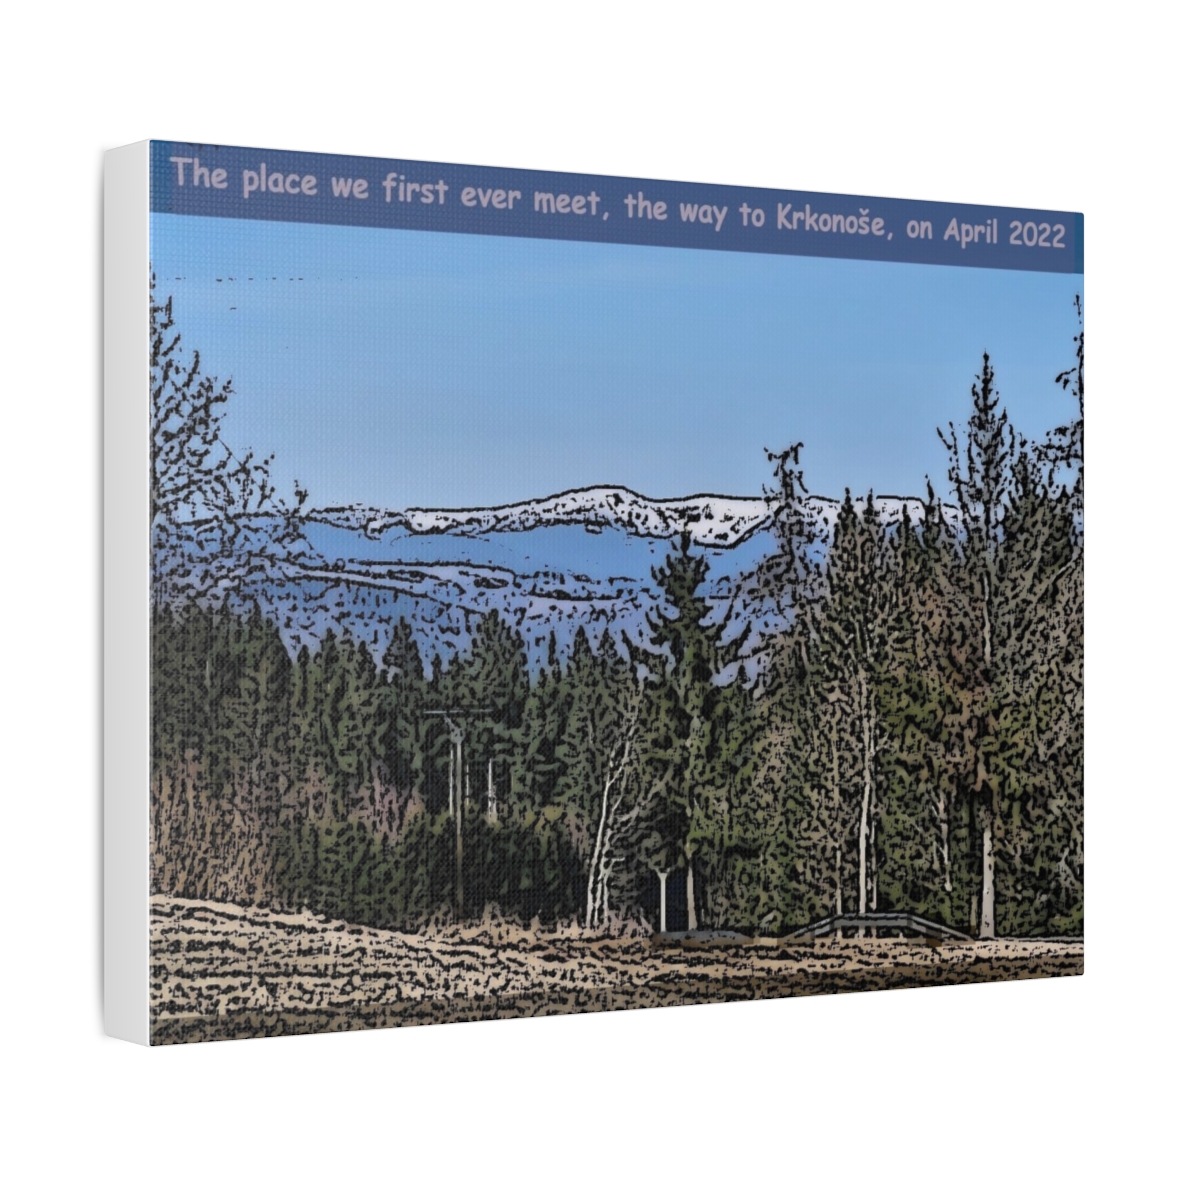
Put it on something real

Take any image into the Print Lab and preview it on a T-shirt, mug, poster, or canvas. Love it? You can order it — pay here or buy on the store.
See it happen

From screen to print

Here's the same photo at each stage. Swap the placeholders below for real examples once we have them — the layout is ready.

Example — a photo becomes a canvas print

Your original photo, straight from upload.Original
Your original photo, straight from upload.
After editing — cropped, filtered, framed.Edited
After editing — cropped, filtered, framed.
Previewed on a real canvas in the Print Lab.On a canvas
Previewed on a real canvas in the Print Lab.

Example — a photo becomes a T-shirt

image
coming soon
Original
Your original photo, straight from upload.
image
coming soon
Edited
After editing — cropped, filtered, framed.
image
coming soon
On a T-shirt
Previewed on a real T-shirt in the Print Lab.

Example — the same idea on other products

image
coming soon
Edited
The finished image.
image
coming soon
Mug
On a mug.
image
coming soon
Posters
On a posters print.
Best practices

Get the best results

Start with a high-resolution photo

Print quality depends on the source. The larger and sharper your original, the better it looks on a T-shirt or canvas. Avoid heavily compressed or screenshotted images.

Mind the crop for each product

A T-shirt, a mug, and a poster have different shapes. Check the Print Lab preview before ordering so nothing important gets cut off at the edges.

Let the note carry the meaning

A strong notion is image plus words. Keep your note honest and specific — that's what makes people stop, read, and vote.

Preview before you pay

Every order starts as a free preview. Use it. See how it looks first, then choose Pay here or Buy on store only when you're happy.

Your photo. Your note. Your notion.

That's the whole loop. Start small, share what moves you, and let an idea leave the screen when it wants to.